Poses
Here’s how to do the Lotus Pose and add stillness and tranquility to your meditation practice.

Updated on: 26th June 2025
Posted on: 26th June 2025
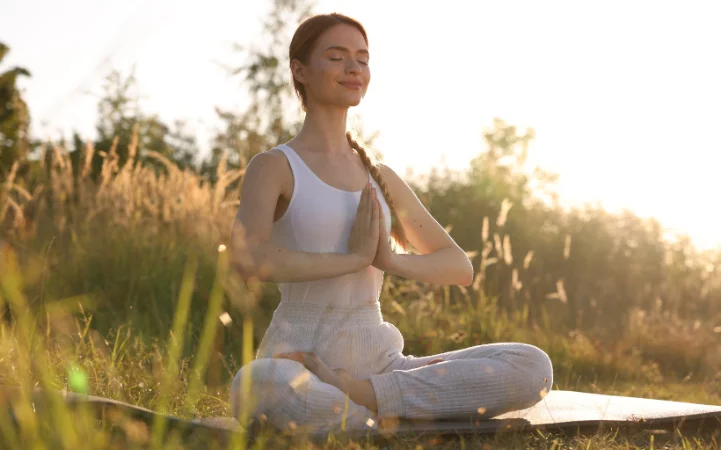
Lotus Pose is a cross-legged, seated pose that deepens the experience of meditation by calming the mind and alleviating various physical ailments. As its name suggests, regular posture practice aids in the practitioner’s overall blossoming.
Also known as Padmasana (PAA-daa-maa-SUN-aa), this Sanskrit word comprises two words-–padma, which means lotus, and asana, which means pose. In the full position, your legs look like the petals of a lotus flower, gently dropping open. With regular practice of Lotus Pose, you start to vibe the qualities of the lotus flower: unaffected by the mud where it is born or even by the water that sustains it. This is why so many ancient yogis and deities are depicted sitting in the Lotus Position.
According to the ancient yoga text, Hatha Yoga Pradipika, a regular habit of practicing Lotus Pose, can destroy all diseases.
Improves digestion
Reduces muscular tension in and around the pelvis
Helps control blood pressure
Relaxes the mind
Aids women during childbirth (see precautions below)
Eases menstrual discomfort
Improves posture
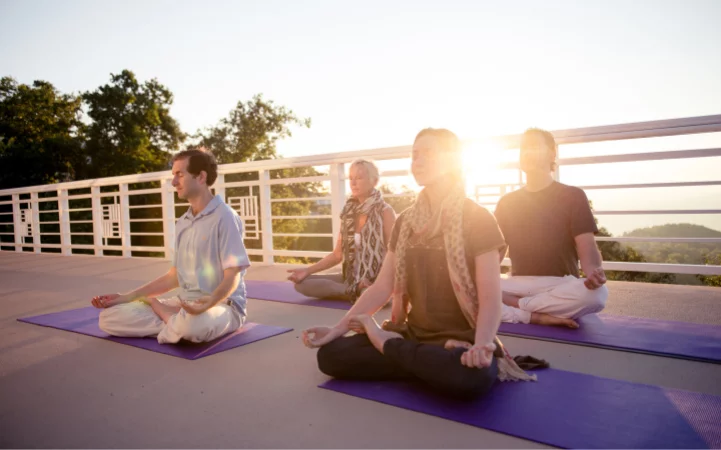
Prepares the practitioner for deep meditation

Recent ankle or knee injury
Chronic issues with ankles or knees
Weak knees
Pregnant women with back pain or swollen knees

Since this pose requires good hip mobility and flexibility, be sure to incorporate hip-opening poses like those mentioned below into your practice before trying the Lotus Pose.
For the starting position, sit on the floor, or a yoga mat on your sit bones with legs stretched out in front of you, keeping your spine erect.
Bend your right knee, and with your hands, gently lift your right foot off the floor. Place the outside of your right foot on your left thigh. Make sure that the sole of your foot points upward and that your heel is close to your abdomen.
Repeat by bending your left leg to place your left foot on your right thigh.
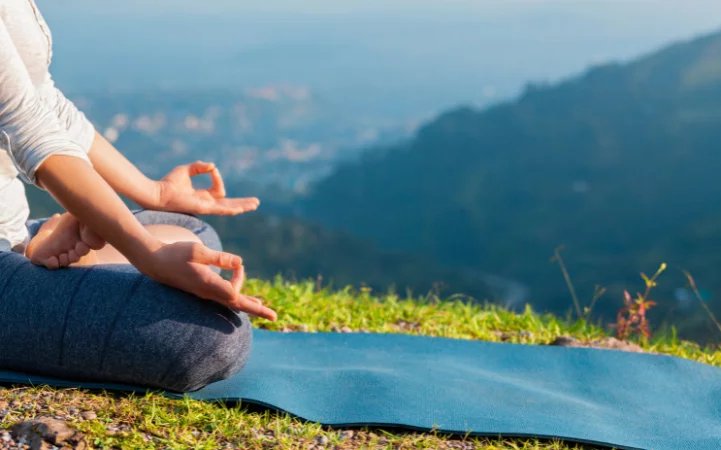
With both legs crossed and feet placed on opposite thighs, place your hands on your knees, with both palms facing the ceiling, in the maha mudra position.
Keep your head straight and your spine long.
Hold and continue with long, gentle breaths in and out.

To make it easier, try Half-Lotus Pose:
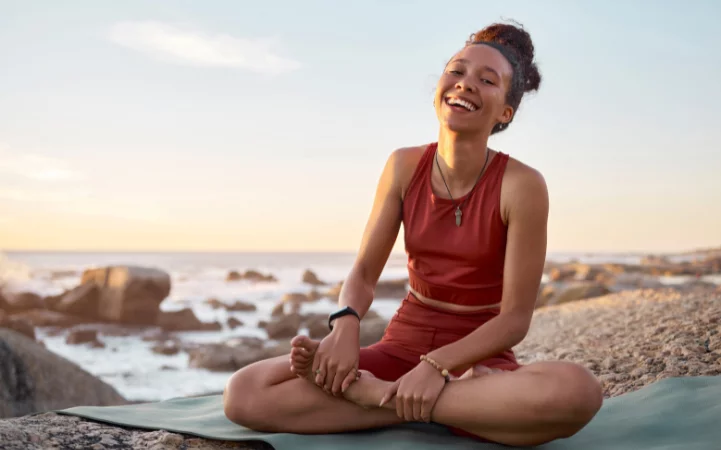
If you cannot overlap both your legs and sit in Full Lotus, you may also sit in Half-Lotus Pose by placing only one foot at a time on each opposite thigh. Be sure to spend equal amounts of time with the left foot and the right foot elevated. Half-Lotus is also a very meditative pose.
Practice Half-Lotus Poses until you feel flexible enough to progress to Full Lotus Pose. Be comfortable in Easy Pose (cross-legged) if that is also difficult. Listen to your body and do this pose only as much as it allows.
Use props:
If your knees don’t rest on the floor, support each knee with a folded, folded blanket or yoga block.
Use a folded blanket under the sit bones to support the spine.
Switch your right and left foot positions:
When you’re in full Lotus Pose, switch your bottom and top legs regularly to maintain balance in your hip muscles.
Add breathwork to your yoga practice:
Learn alternate nostril breathing (Nadi Shodhan pranayama) or ocean breath (Ujjayi Breath) to add to your practice and deepen your experience in the Lotus Position. Check out these easy videos to learn how.

To increase the challenge:
Those with more arm strength can try an advanced pose like Scale Pose. In this pose, you press your palms into the floor alongside your hips, lift your buttocks and legs off the floor, and allow your body to swing slightly.
For a deep stretch to the upper body, those with more flexibility can come into Bound Lotus Pose: From the full Lotus Pose, reach both arms behind your back, clasping your toes with your fingers. To deepen the stretch even further, fold forward.
Add Lotus Pose to poses like a Headstand, Fish Pose, and Shoulder Stand, where legs can be folded into Lotus Position.

The following poses are excellent follow-up poses:
When practiced regularly, breathing and meditation supercharge yoga’s life benefits. Add Sudarshan Kriya Yoga, also known as SKY Breath Meditation, to get the most out of your yoga practice.
SKY practitioners report:
Greater mental focus
Healthier blood pressure
Enhanced deep sleep
Mental fortitude
Increased joy and optimism
Decreased stress, anxiety, and depression